
PVS IMPRESSIONS
IF you have to take PVS Impressions follow this guide
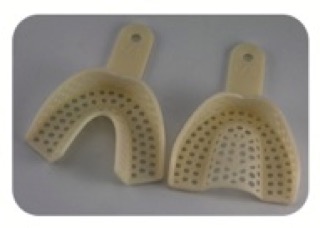
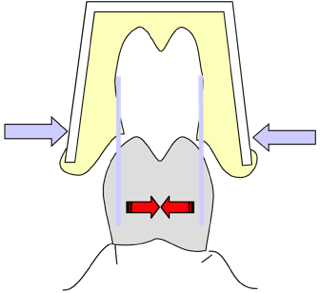
Rigid disposable trays are best to use as they don't flex
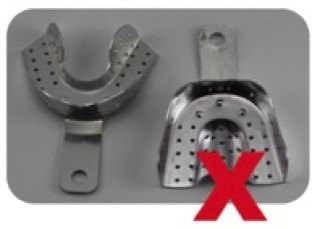
Aluminium trays flex and are not suitable
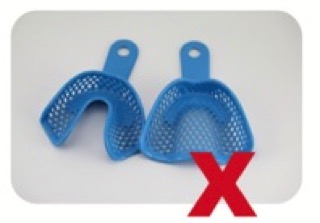
Metal reinforced trays warp
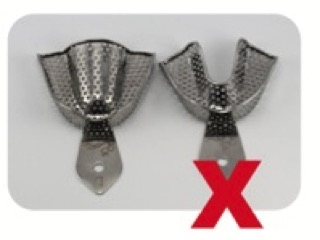
Metal trays are good to use however can be expensive
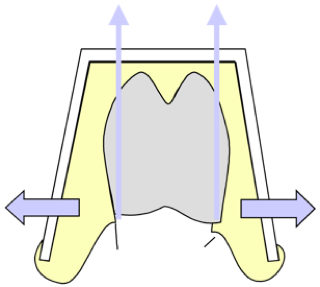
Bending open of a ductile tray while using high viscosity impresssion material
When the tray is removed the tray flexes back and caused a very hard to see distorted impression
IMPRESSION TUTORIAL
SWIPE IMAGE LEFT
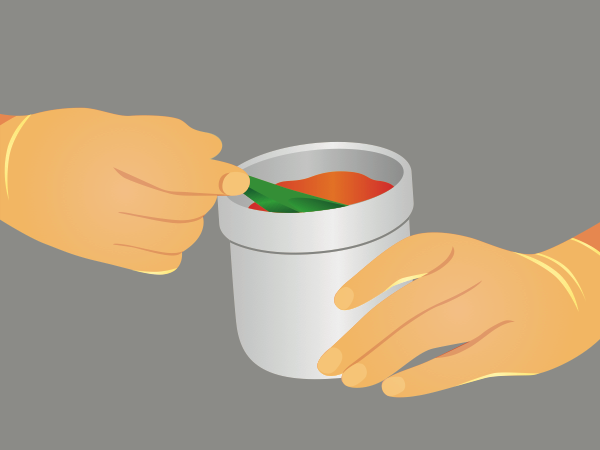
1. Scoop heavy body impression material
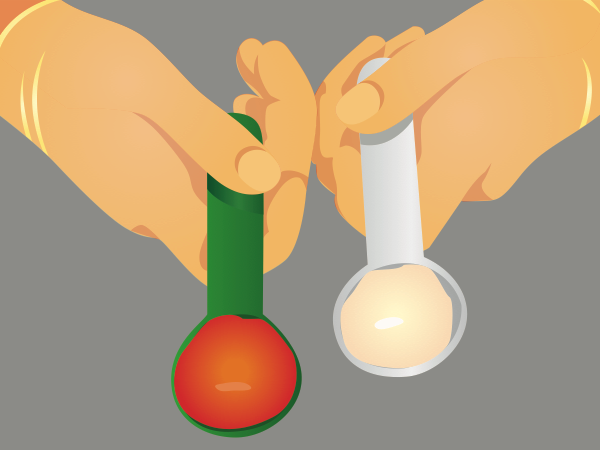
2. Equal parts A and B
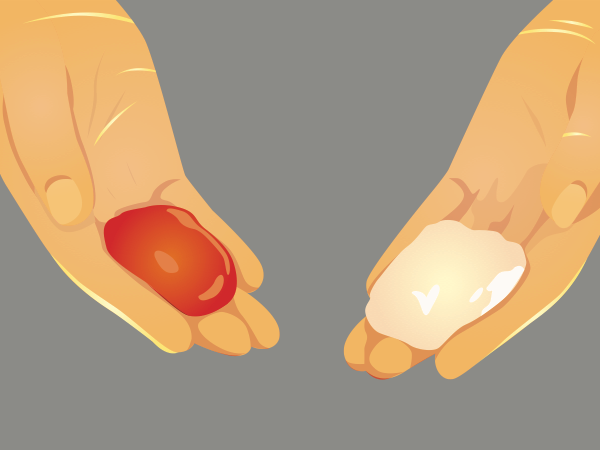
3. Place in hands ready for mixing
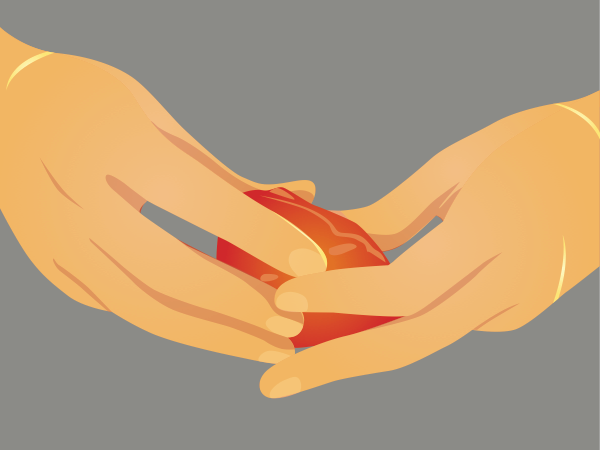
4. Mix thoroughly ( wear gloves )
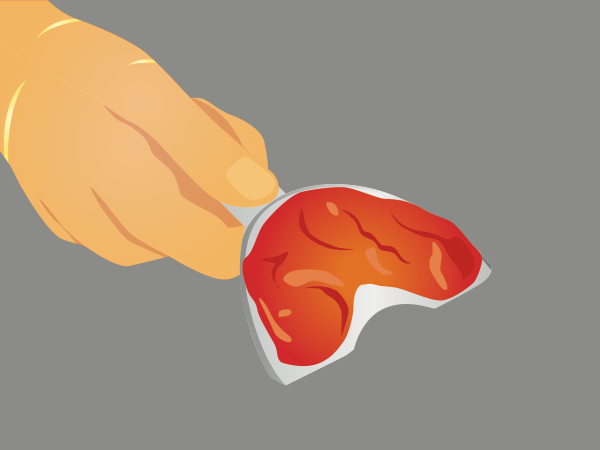
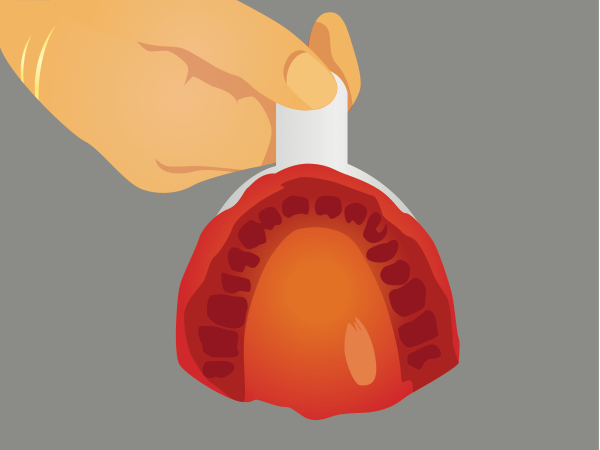
5. Load in tray
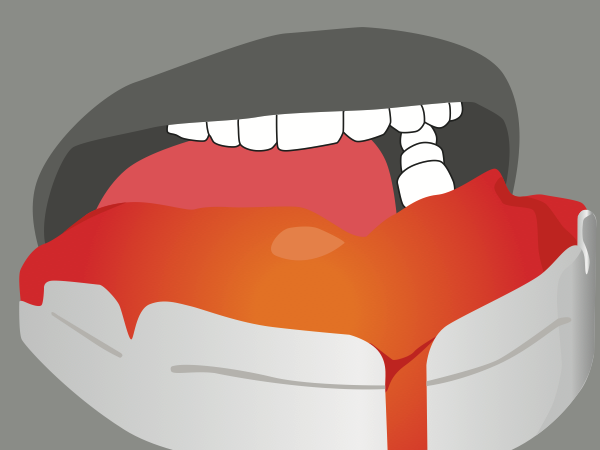
6. Place in patients mouth
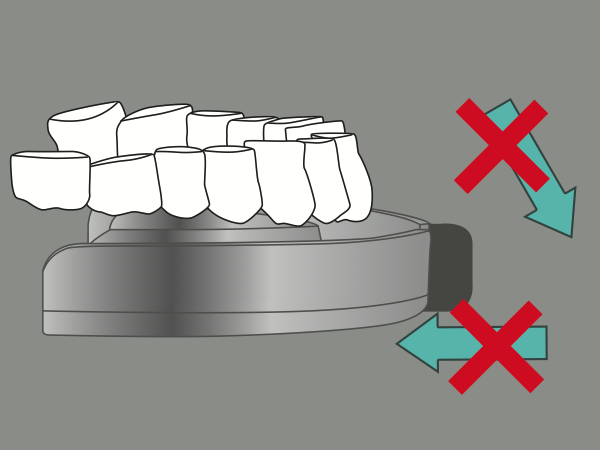
7. Do not push back or pull down
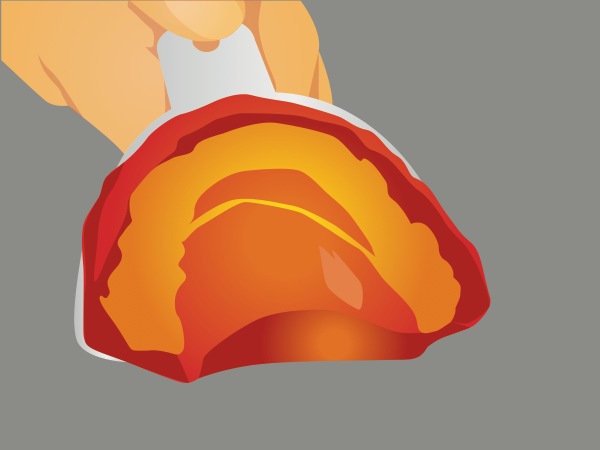
8. When set remove from patients mouth

9. Syringe in light body material

10. Close-up of light body material
11. Tray ready to take impression
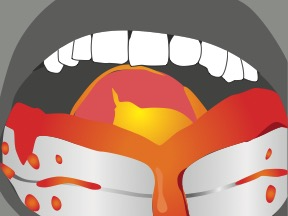
12. Insert in patients mouth
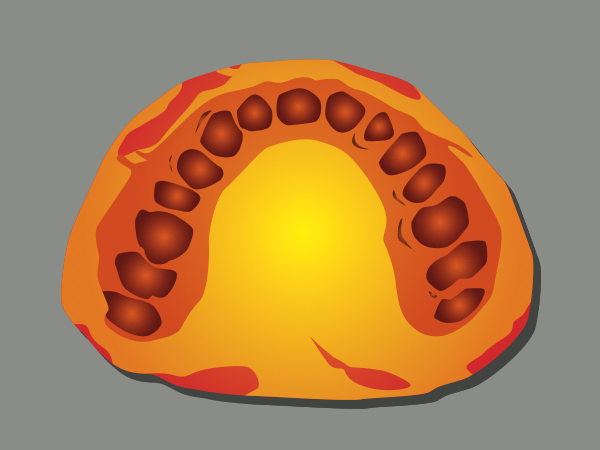
13. Remove when set, impression completed
